

My two kids are obsessed with yogurt melts — you might think they’re chocolate chips, they love them so much — and so when a friend told me she made yogurt melts for her toddler at home, I was all ears.
Turns out that homemade yogurt melts are actually very easy to make — the “working” prep time is under ten minutes, usually just about 5-6 minutes once you get the hang of it — and they are a fantastic, healthy snack that leaves everyone smiling.
Yogurt is a great addition to any toddler’s diet: it’s packed with protein, healthy fat, calcium, and vitamin D; and since it’s rich in probiotics, yogurt is also beneficial for children’s developing microbiomes. One of my children doesn’t like yogurt and typically refuses to eat it, but these melts are a fantastic and fun way to change up the delivery and presentation. Slowly but surely, he’s learning: he does like yogurt!
*There area lot of ways to play with this recipe and really make it your own — but at the baseline all you need are two things: yogurt and fruit.
How to Make Homemade Yogurt Melts
Here’s the easiest way to make delicious homemade yogurt melts, broken down step-by-step:

1. Mix or blend roughly ½ cup plain whole milk greek yogurt with ~2 tablespoons fruit(s) or a baby food puree. If you prefer to use a dairy-free yogurt, we suggest opting for coconut yogurt, as it tends to be thicker than other plant-based yogurt varieties, and you want something with a thick consistency to get the best results.
A note: Opting for plain yogurt + fruits/purees (as opposed to a flavored yogurt) will keep the sugar content to a minimum — most flavored yogurts on the market contain TONS of added sugar. The only sugar in this recipe comes from real food, so you can rest assured that your child isn’t going to overdo it. :)

Also — don’t feel wed to the above ratios for yogurt: fruit. Personally, my children enjoy these most when they are heavier on the fruit, so I tend to be more generous with my fruit additions. *Just be sure to add additional fruit/puree slowly so that the mixture doesn’t become too thin — we’re going for a nice thick consistency.Scrape the mixture into a piping bag or a small plastic bag and snip the corner with a pair of kitchen scissors. (*Snip SMALL.)

2. Squeeze little drops onto a nonstick tray or a pan/plate lined with parchment paper. (If you don’t have a bag you use, you can just use a small spoon to make dollops on your tray — you’ll still get the same tasty result, it just may not look quite as pretty!)
3. Freeze for 1-2 hours, until solid, then transfer your homemade yogurt melts to an airtight, freezer-safe container. You can enjoy them right away or store them for up to ~3 months.
Fun option: If you have an older toddler who can eat slightly larger bites, there are a ton of adorable silicone molds available for purchase that you could use to make yogurt bites in all kinds of shapes: stars, hexagons, cubes, even gummy bears! (Actually, some of these are marketed and sold for homemade dog treats, hah!)

Homemade Yogurt Melts: Recipe Inspiration
As I mentioned, there are an almost infinite variety of ways to flavor homemade yogurt melts. Fruit tends to go over best with children (sugar, lol) but you could also make any number of savory varieties, too. My family’s all-time favorite flavor is raspberry & blackberry, but mango comes in at a close second…
Here are some fun options that span the rainbow:
- Red: raspberries, strawberries
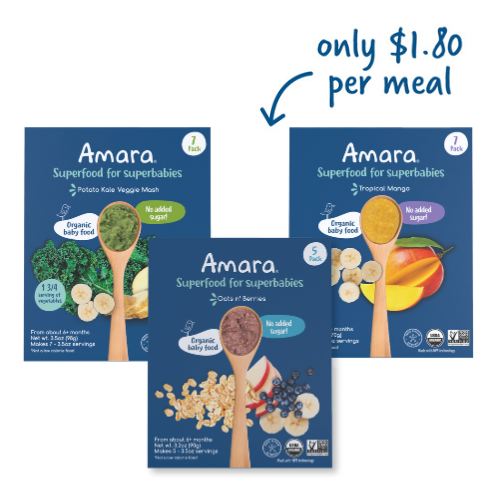
- Orange/yellow: pumpkin & cinnamon; mango; peaches; Amara tropical mango puree; Amara pumpkin & pear puree
- Green: spinach (yes!) with avocado, pear, or green grapes
- Blue: blueberries, that’s all 😉
- Purple: blackberries; Amara applesauce with maqui berry puree

Serving Homemade Yogurt Melts
We recommend letting your yogurt melts thaw for just a minute before serving them (this way they are not rock solid). That said, these do melt quite quickly, so you also may be better off serving a small handful at a time rather than a large portion. And since homemade yogurt melts don’t last very long at room temperature, they’re definitely best for a snack at home — we don’t suggest packing these for an afternoon outing, car ride, or day trip. They will not last, and you’ll end up with a huge mess on your hands!
A note on age: most parents and experts find that babies are ready to try yogurt melts around 10 months of age, because by this point they can sit on their own, grab and eat finger foods independently, and chew well.

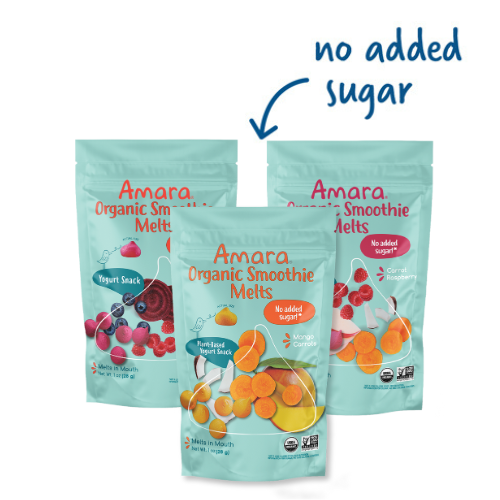
By the way, if you need a wonderful, healthy snack that’s shelf-stable and perfect for on-the-go, all of Amara’s organic toddler yogurt melts contain NO added sugar! They’re mess-free, delicious, and nutritious, and you can choose from dairy-based or dairy-free options.
______________________________
Other ways to serve yogurt to kids who don’t like yogurt:
Yogurt parfaits — change up the ratios here, go heavier on granola and fruit and lighter on the yogurt
Add yogurt to smoothies
Use yogurt in pancakes and other recipes
Look for recipes that use yogurt instead of sour cream or mayo, in dressings, dips, and pasta salads
DIY yogurt recipe:https://amaraorganicfoods.com/blogs/blog/diy-baby-yogurt-homemade-organic-yogurt-for-babies-toddlers?_pos=1&_sid=635c3970b&_ss=r


Leave A Comment